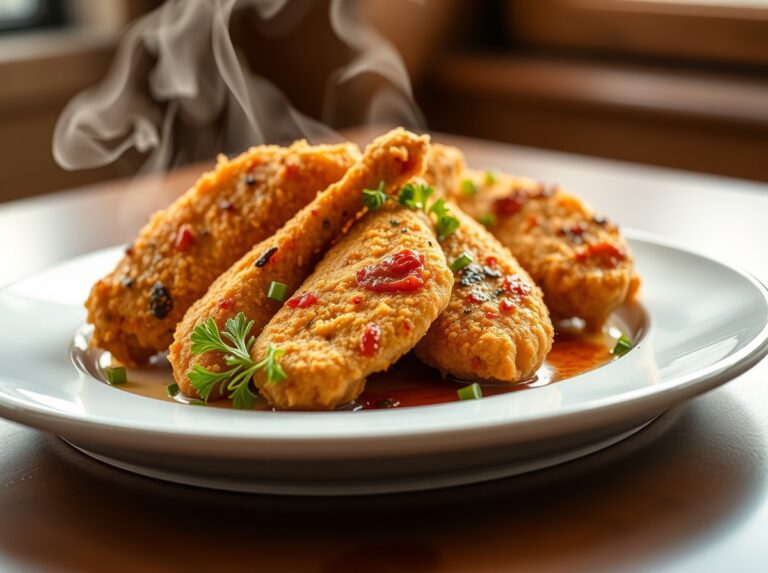
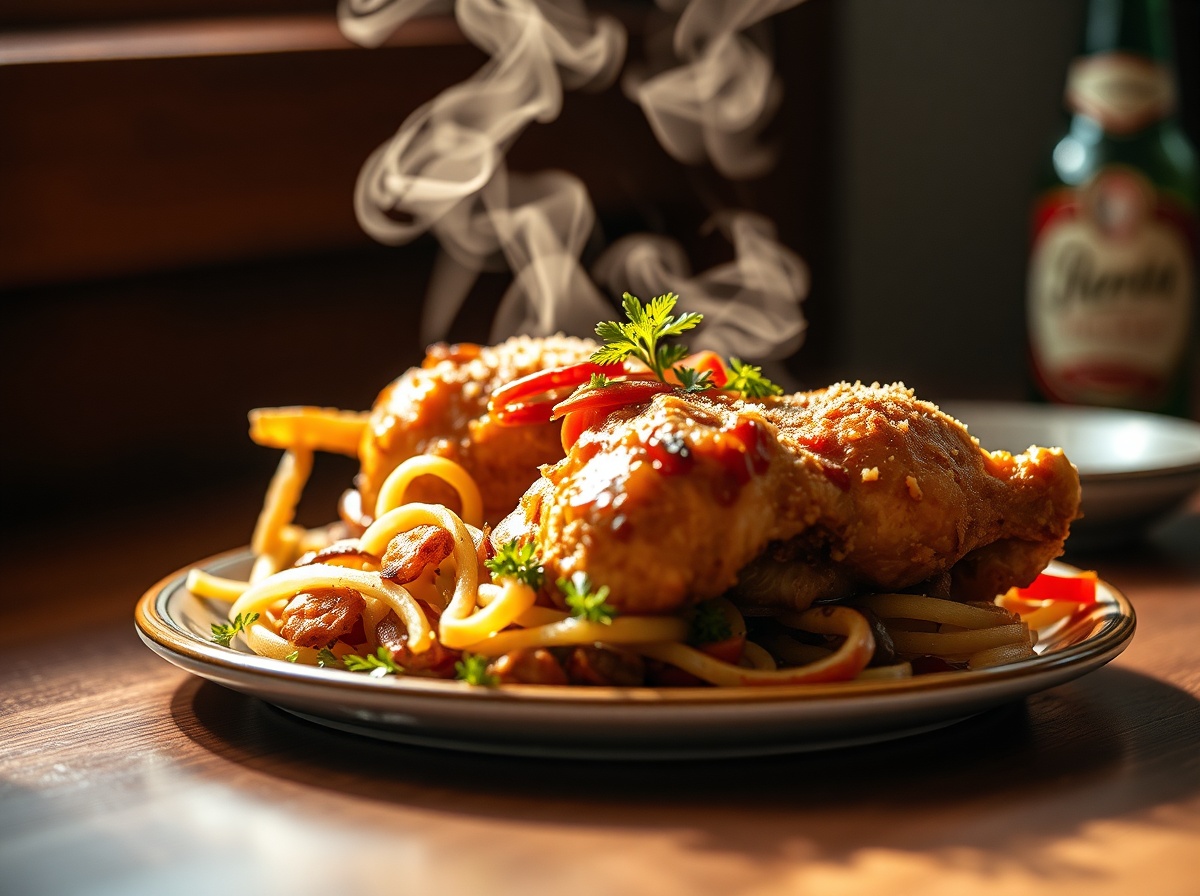
Classic Beer Can Chicken Recipe (Juicy & Crispy)
The first time I tasted Beer Can Chicken Recipe done right, I immediately wanted to figure out how to make it at home. This recipe is the result of that chase.
Table of Contents
Ingredients for Beer Can Chicken
Chef’s note: After testing this recipe at least a dozen times, I’ve found that the secret is giving it a proper rest before serving.
For the Chicken:
– 1 whole chicken (4-5 pounds)
– 1 can of beer (any type, though lagers work best)
– 2 tablespoons olive oil
– 4 cloves garlic, minced
For the Dry Rub:
– 2 tablespoons paprika
– 1 tablespoon brown sugar
– 1 tablespoon kosher salt
– 2 teaspoons black pepper
– 1 teaspoon garlic powder
– 1 teaspoon onion powder
– 1 teaspoon dried thyme
– ½ teaspoon cayenne pepper (optional for heat)
Equipment:
– Grill (gas or charcoal)
– Beer can chicken holder (optional but helpful)
– Meat thermometer
– Aluminum drip pan
– Grilling tongs
– Kitchen shears
How Long Does Beer Can Chicken Take to Make?
The beauty of this dish is in its timing: while it looks impressive, it’s mostly hands-off cooking!
– Preparation time: 15 minutes
– Rub marination time (optional): 1-4 hours
– Cooking time: 75-90 minutes (approximately 15-18 minutes per pound)
– Resting time: 10 minutes
– Total time: About 2 hours
This makes beer can chicken perfect for weekend cookouts when you want to mingle with guests while your meal practically cooks itself.
How to Make Beer Can Chicken (Step-by-Step)
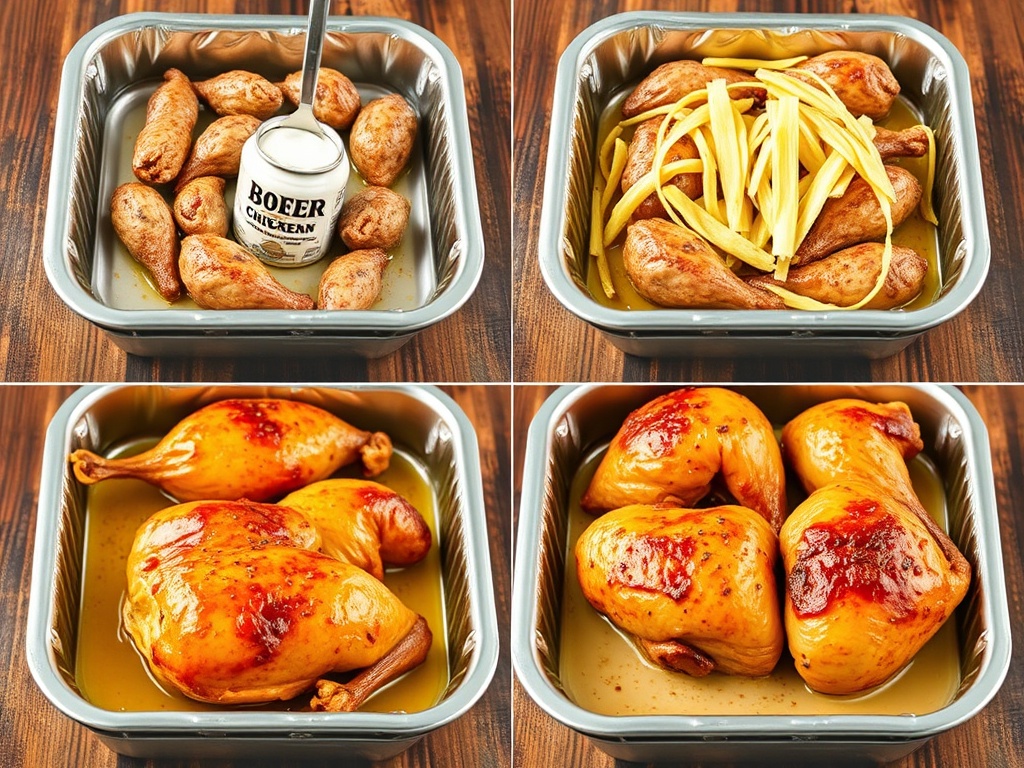
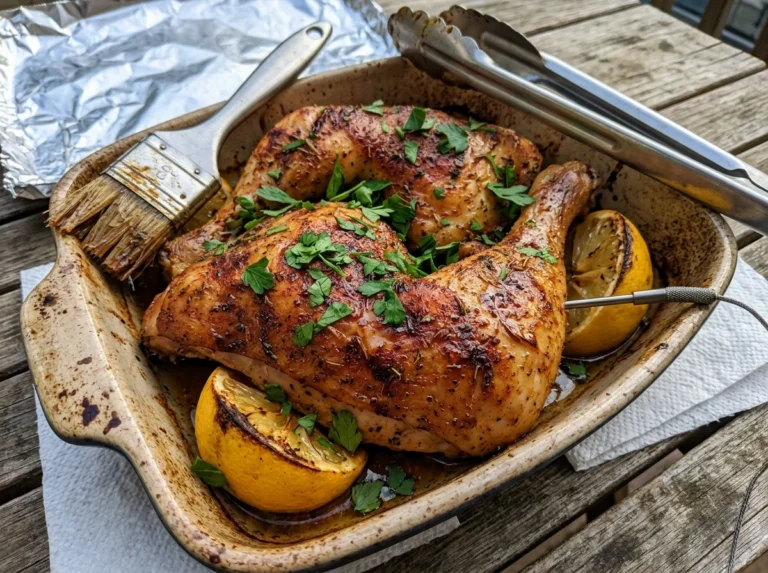
1. Prepare the chicken: Remove giblets from the cavity. Rinse the chicken inside and out with cold water, then pat completely dry with paper towels. For crispier skin, leave the chicken uncovered in the refrigerator for 1-2 hours before cooking.
2. Make the rub: Combine all the dry rub ingredients in a small bowl.
3. Season the bird: Rub the chicken all over with olive oil, then generously apply the dry rub mixture both inside and outside the chicken, including under the skin for maximum flavor.
4. Prepare the beer can: Open the beer can and pour out (or drink!) about one-quarter of the contents. Make a few additional holes in the top of the can to allow more steam to escape.
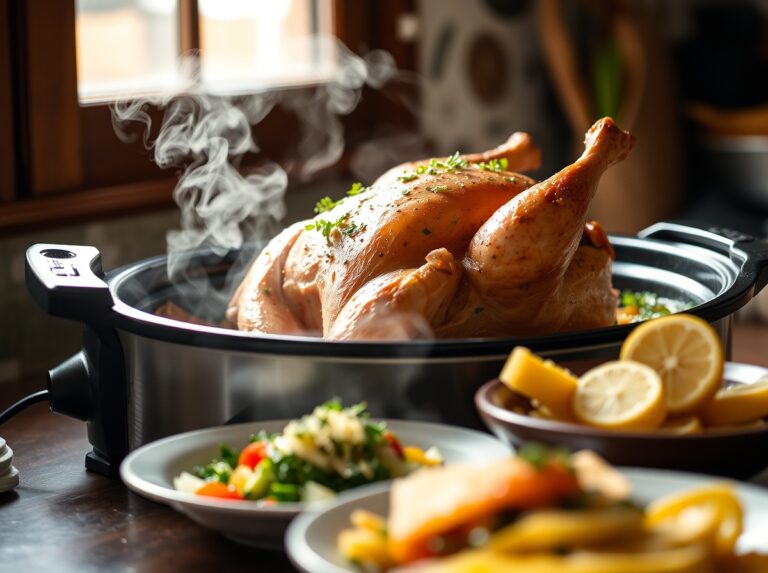
5. Preheat your grill: Set up your grill for indirect heat, aiming for a temperature of 350-375°F. For a charcoal grill, pile coals on one side; for gas, light one side of burners.
6. Mount the chicken: Place the beer can on a stable surface, then carefully lower the chicken cavity over the can so it sits upright, using the can and the legs to form a tripod. If using a beer can chicken recipe holder, secure according to its instructions.
7. Position on grill: Place the chicken (on the beer can) on the indirect heat side of the grill with the aluminum drip pan underneath to catch drippings.
8. Cook: Close the grill and cook until the internal temperature reaches 165°F in the thickest part of the thigh, about 75-90 minutes. Avoid opening the grill frequently as this releases heat.
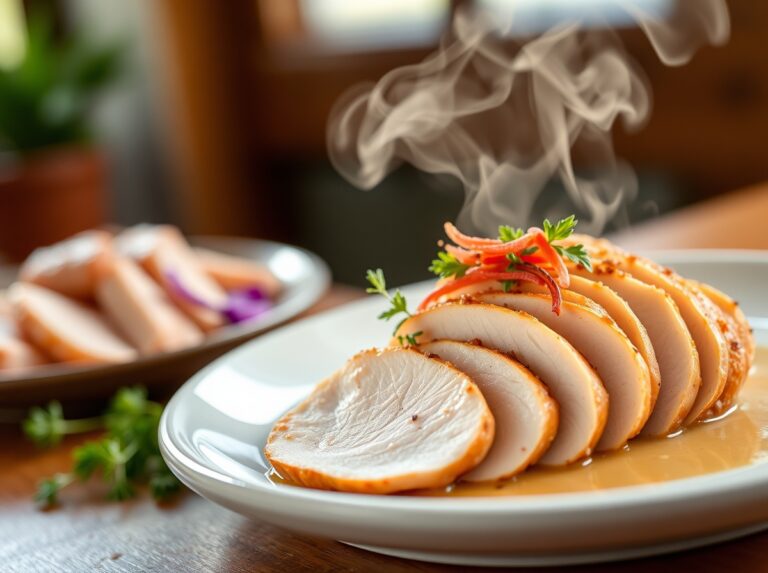
9. Rest: Carefully remove the beer can chicken from the grill (use gloves—it’s hot!). Let it rest for 10 minutes before removing the can and carving.
Nutritional Benefits of Beer Can Chicken
This cooking method offers several advantages over traditional roasted chicken:
– Lower fat content as excess fat drips away during cooking
– Higher moisture retention due to the beer steaming the chicken from within
– Rich in protein (approximately 25g per serving)
– Contains B vitamins, particularly niacin and B6
– Provides essential minerals like selenium, phosphorus, and zinc
– Lower in calories when compared to fried chicken preparations
Expert Tips for the Best Beer Can Chicken
– Beer alternatives: Not a beer fan? Use root beer, cola, or even just chicken broth with herbs.
– Indoor option: No grill? Use your oven at 375°F with the chicken in a roasting pan.
– Flavor variations:
– Mexican-style: Use lime juice and taco seasoning in your rub
– Asian-inspired: Add five-spice powder and brush with hoisin sauce during the last 15 minutes
– Mediterranean: Incorporate oregano, lemon zest, and olive oil
– Dietary adjustments: For gluten-free diets, use gluten-free beer or the alternatives mentioned above.
Common Mistakes When Making Beer Can Chicken

1. Using too high heat: This leads to a burnt exterior and undercooked interior. Maintain medium indirect heat throughout cooking.
2. Not drying the chicken: Skipping the pat-dry step prevents crispy skin. Always thoroughly dry the chicken before seasoning.
3. Removing too early: Always verify doneness with a meat thermometer rather than relying on cooking time alone.
4. Forgetting to create holes in the beer can: Additional holes help the beer steam escape better, flavoring your chicken from the inside out.
5. Unstable setup: If not properly balanced, your chicken might topple over. Consider investing in a beer can chicken holder for stability.
How to Store Beer Can Chicken
– Refrigerate leftover chicken within two hours of cooking, separated from the bone for quicker cooling.
– Store in airtight containers for up to 3-4 days in the refrigerator.
– For longer storage, freeze portions in freezer-safe containers for up to 3 months.
– To reheat: Warm in a 325°F oven with a splash of broth to maintain moisture until reaching 165°F internally.
– Use leftovers in sandwiches, salads, soups, or enchiladas for quick weekday meals.
Conclusion
Mastering this beer can chicken recipe will transform your backyard barbecues forever. The combination of smoky grill flavor, aromatic spices, and the internal moisture from the beer creates chicken that’s impressively juicy on the inside and delectably crispy on the outside. Whether you’re entertaining guests or simply elevating your weekend family dinner, beer can chicken offers that perfect balance of impressive presentation and delicious results with minimal effort. Give this technique a try this weekend and prepare for the compliments to start rolling in!
Frequently Asked Questions About Beer Can Chicken
Can I make beer can chicken without beer?
Absolutely! You can substitute with soda, juice, or broth. The key is having a liquid that will create steam inside the chicken as it cooks.
Is it safe to cook chicken with an aluminum can?
Yes, it’s safe. The can doesn’t reach temperatures high enough to cause any health concerns, and the beer inside keeps the can temperature regulated.
How do I know when my beer can chicken is done cooking?
Always use a meat thermometer inserted into the thickest part of the thigh (not touching bone). The chicken is done when it reaches 165°F.
Can I add wood chips for extra smoky flavor?
Definitely! Soak wood chips in water for 30 minutes, then add them to your charcoal or in a smoker box for gas grills. Hickory or applewood complement chicken perfectly.
What’s the best type of beer to use for beer can chicken?
While any beer works, lighter lagers or pilsners are ideal as they won’t overpower the chicken. For more flavor, try a mild ale or even a citrus-infused beer.