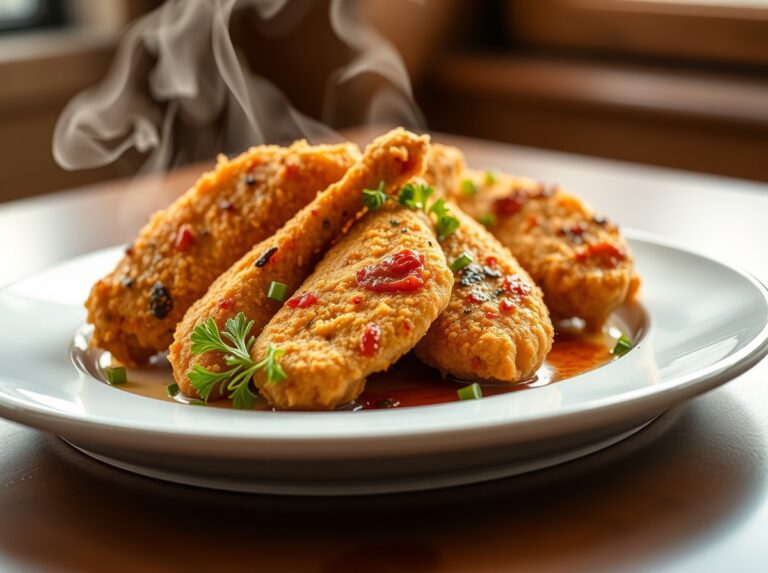
Crispy Fried Chicken Sandwich Recipe (Copycat)
This Fried Chicken Sandwich Recipe recipe is the one I come back to every time. No complicated steps, no hard-to-find ingredients — just solid flavor that works.
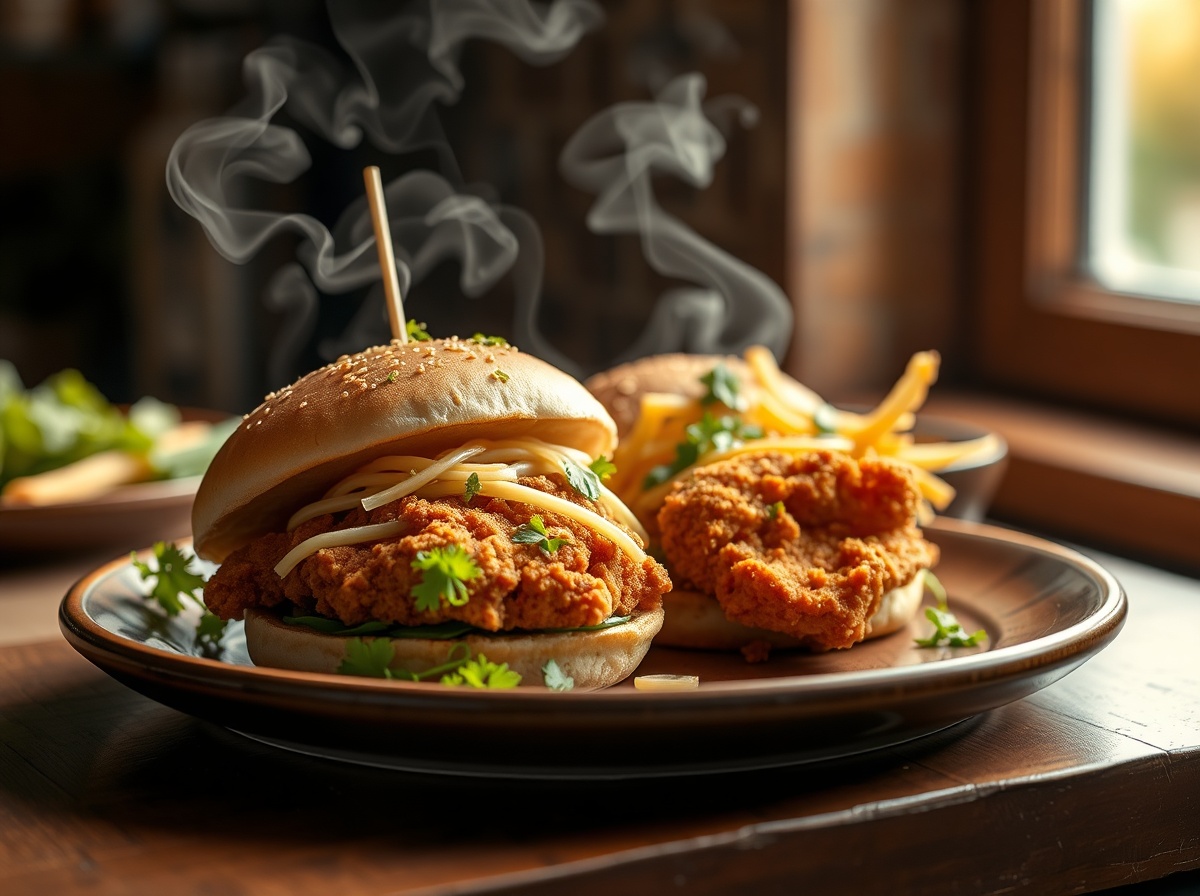
There’s something incredibly rewarding about biting into a chicken sandwich you’ve crafted yourself, with that perfect balance of crunchy exterior and tender meat. Let’s discover how to create this mouth-watering masterpiece right in your own kitchen!
Crispy Fried Chicken Sandwich Recipe (Copycat)
Ingredients
Method
Table of Contents
Ingredients for Fried Chicken Sandwich
Chef’s note: I’ve made this dish more times than I can count, and the one thing that always makes a difference is using fresh herbs at the end.
For the Chicken:
– 4 boneless, skinless chicken breasts or thighs
– 2 cups buttermilk
– 2 tablespoons hot sauce (optional)
– 2 cups all-purpose flour
– 1 tablespoon garlic powder
– 1 tablespoon onion powder
– 2 teaspoons paprika
– 1 teaspoon cayenne pepper (adjust to taste)
– 2 teaspoons salt
– 1 teaspoon black pepper
– Vegetable oil for frying (about 4 cups)
For the Assembly:
– 4 brioche or potato buns
– Butter for toasting buns
– 4 tablespoons mayonnaise
– 2 tablespoons pickle juice (optional)
– 1 cup shredded lettuce
– Dill pickle slices
– Sliced tomato (optional)
Equipment:
– Large bowl for marinating
– Large Dutch oven or heavy-bottomed pot
– Meat thermometer
– Wire rack
– Baking sheet
– Paper towels
– Tongs
How Long Does Fried Chicken Sandwich Take to Make?
Prep Time: 20 minutes (plus 2-24 hours marinating time)
Cooking Time: 20-25 minutes
Total Time: 40-45 minutes (active time, not including marinating)
Serving Size: 4 sandwiches
Unlike restaurant versions that can sometimes use pre-frozen ingredients, this homemade version takes only slightly longer but delivers significantly better flavor and freshness.
How to Make Fried Chicken Sandwich (Step-by-Step)

1. Prepare the chicken: Pound chicken breasts or thighs to even thickness (about ½ inch thick) to ensure even cooking.
2. Make the marinade: Combine buttermilk and hot sauce in a large bowl. Submerge chicken pieces completely and refrigerate for at least 2 hours or overnight for best results.
3. Prepare the coating: In a shallow dish, mix flour, garlic powder, onion powder, paprika, cayenne pepper, salt, and black pepper.
4. Set up your station: Remove chicken from buttermilk, allowing excess to drip off. Dredge each piece thoroughly in flour mixture, pressing firmly to create a textured coating.
5. Heat the oil: Pour oil into a Dutch oven to a depth of about 2 inches. Heat to 350°F (175°C). Use a thermometer for accuracy—oil temperature is crucial for a perfect fried chicken sandwich.
6. Fry the chicken: Carefully lower chicken pieces into hot oil and fry for 5-7 minutes per side until golden brown and internal temperature reaches 165°F (74°C).
7. Drain and rest: Transfer cooked chicken to a wire rack over a baking sheet. Let rest for 5 minutes to allow juices to redistribute.
8. Toast the buns: Spread butter on cut sides of buns and toast in a skillet until golden brown.
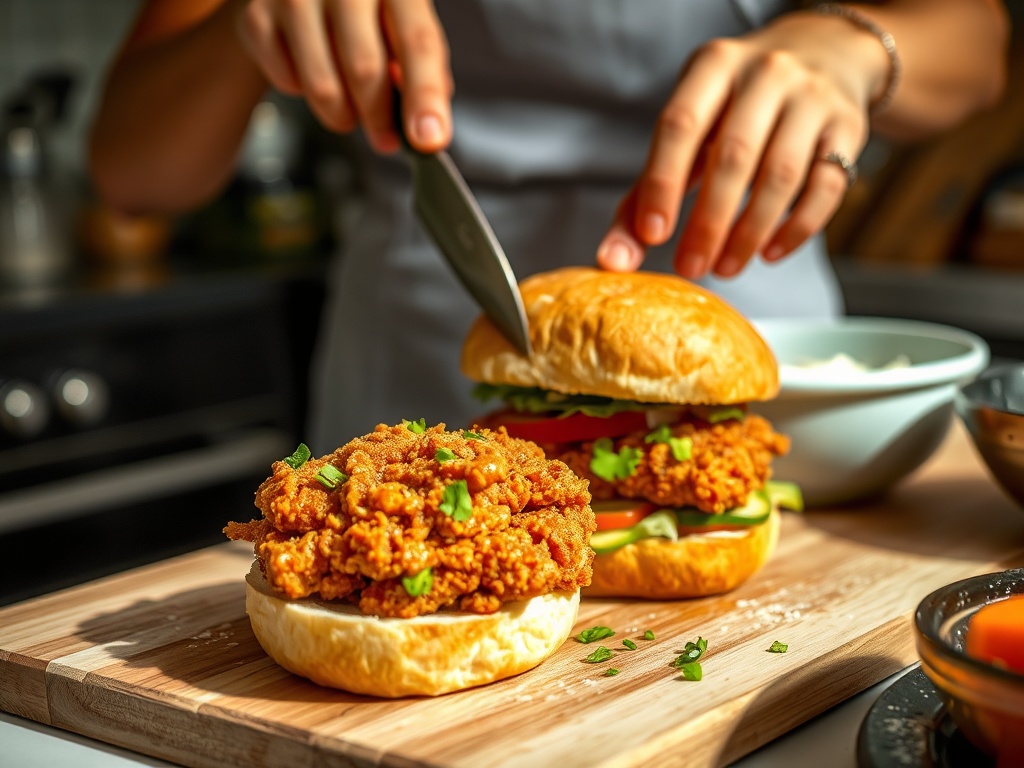
9. Assemble your chicken sandwich: Mix mayonnaise with pickle juice if desired. Spread on both sides of buns, add chicken, then top with lettuce, pickles, and tomato if using.
Nutritional Benefits of Fried Chicken Sandwich
Homemade fried chicken sandwiches offer several advantages over fast-food versions:
– Control over oil quality and freshness
– Lower sodium content (typically 40% less than restaurant versions)
– No artificial preservatives or flavor enhancers
– Option to use organic chicken and fresh produce
– Ability to adjust spice levels to personal preference
Expert Tips for the Best Fried Chicken Sandwich
– Air fryer option: Spray coated chicken with cooking oil and air fry at 380°F for 10 minutes per side for a lighter version.
– Gluten-free variation: Substitute all-purpose flour with a gluten-free flour blend.
– Nashville hot style: After frying, brush chicken with a mixture of hot oil, cayenne pepper, brown sugar, and paprika.
– Healthier twist: Bake the chicken at 425°F for 20-25 minutes after spraying with cooking oil.
– Flavor boost: Add 1 tablespoon of ranch seasoning to your flour mixture for extra flavor.
Common Mistakes When Making Fried Chicken Sandwich
1. Oil temperature issues: Too hot burns the outside while leaving the inside raw; too cool makes greasy chicken. Always use a thermometer.
2. Overcrowding the pan: Fry in batches to maintain oil temperature and ensure even cooking.
3. Skipping the marinade: This crucial step tenderizes the meat and adds flavor depth.
4. Seasoning only the flour: Season both the chicken and the flour mixture for layers of flavor.
5. Moving chicken too early: Let it form a crust before flipping to prevent coating from falling off.
How to Store Fried Chicken Sandwich
– Short-term storage: Refrigerate leftover fried chicken for up to 3 days in an airtight container.
– Reheating: For best results, reheat in a 350°F oven for 15-20 minutes to restore crispiness. Avoid microwaving, which makes the coating soggy.
– Freezing option: Cooked chicken pieces can be frozen for up to 2 months. Thaw in refrigerator overnight before reheating.
– Separate storage: Store chicken and toppings separately to prevent sogginess.
Conclusion
Mastering a homemade fried chicken sandwich gives you a restaurant-quality meal that’s fresher, more customizable, and often healthier than takeout options. With the right techniques and quality ingredients, your homemade version will quickly become a family favorite. Don’t be intimidated by the frying process—practice makes perfect, and even your early attempts will likely outshine fast-food alternatives. We’d love to hear how your chicken sandwich turns out—share your photos and variations in the comments below!
Frequently Asked Questions About Fried Chicken Sandwich
Q: Can I use chicken with bones for this recipe?
A: While boneless pieces are recommended for sandwiches, you can use bone-in chicken, but you’ll need to increase cooking time by 3-5 minutes per side and remove bones before assembling.
Q: My coating keeps falling off during frying. What am I doing wrong?
A: Make sure to thoroughly dry chicken after marinating, press coating firmly onto meat, and allow oil to heat to the proper temperature before adding chicken.
Q: Can I make the components ahead of time for a quick assembly later?
A: You can marinate chicken up to 24 hours ahead and prepare the flour mixture in advance, but for best results, fry chicken shortly before serving.
Q: Is there a dairy-free alternative to buttermilk for the marinade?
A: Mix 2 cups of non-dairy milk with 2 tablespoons of lemon juice or vinegar and let stand for 5-10 minutes until slightly thickened.
Q: How can I tell when the chicken is done without a meat thermometer?
A: When pierced with a knife, fully cooked chicken releases clear juices (not pink), and the meat should be white throughout with no pink areas.