How to Cook Perfect Boiled Shrimp
My family has strong opinions about food, which makes it easy to know when a recipe is a keeper. Perfect Boiled Shrimp passed the test on the first try.
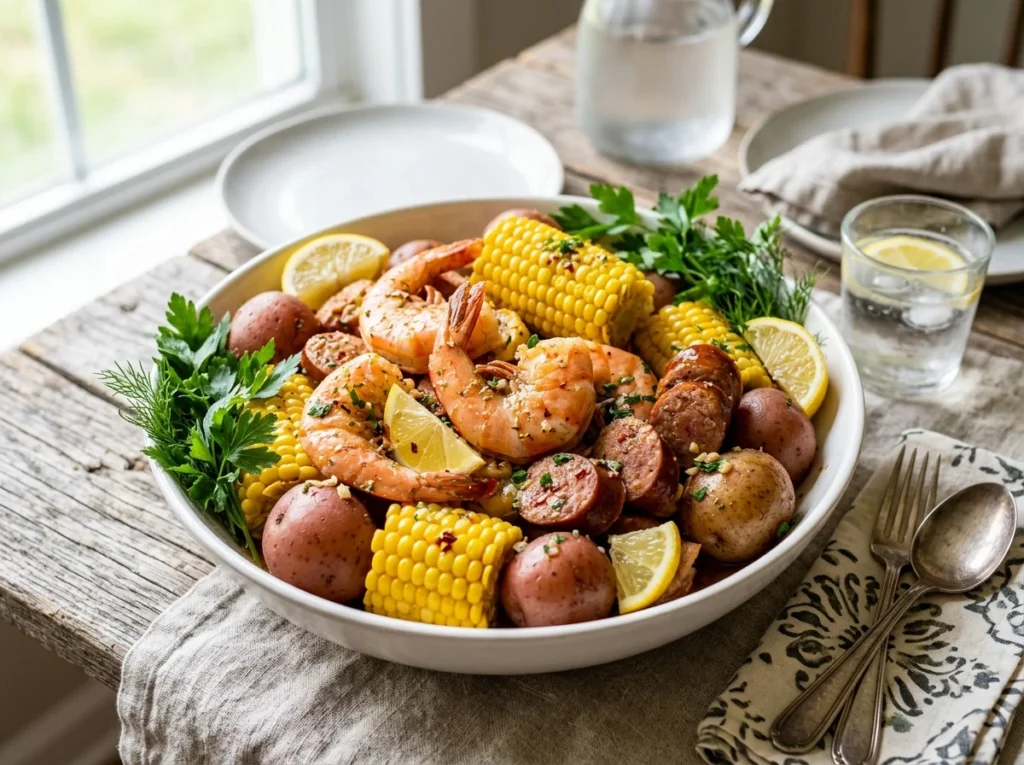
Table of Contents
Ingredients for Boiled Shrimp
Chef’s note: I’ve simplified this considerably from the original I tasted, but the flavor is just as good.
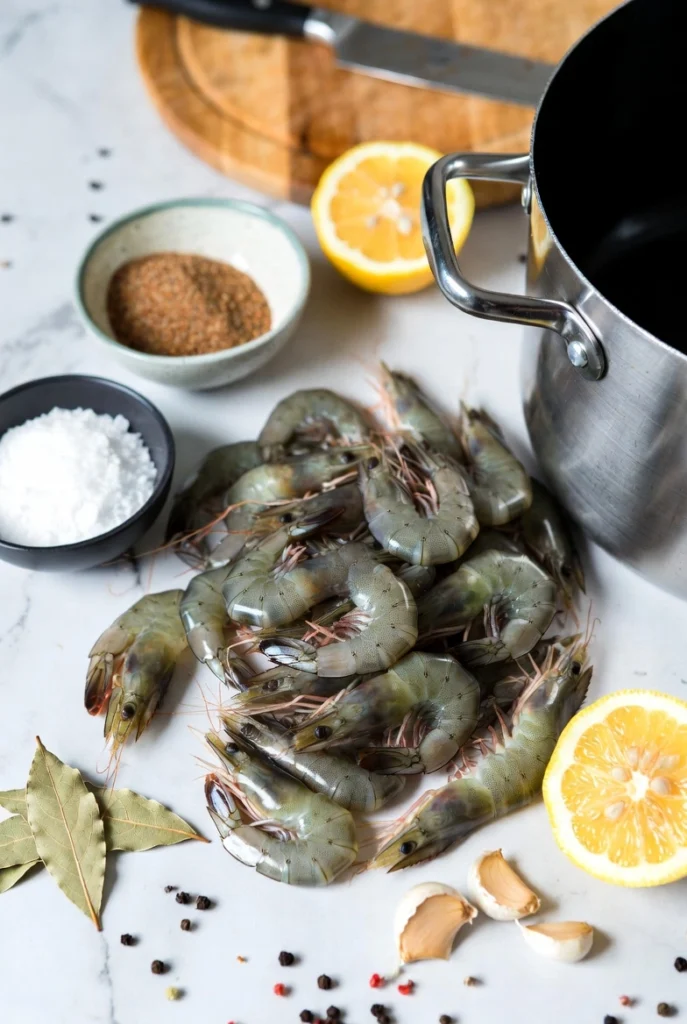
Ingredients:
– 2 pounds fresh or frozen large shrimp (21-25 count)
– 6 cups water
– 1/4 cup Old Bay seasoning (or seafood boil seasoning of choice)
– 2 tablespoons kosher salt
– 3-4 lemons (2 halved for boiling, 1-2 for serving)
– 4 cloves garlic, smashed
– 1 tablespoon whole peppercorns
– 2 bay leaves
– Optional: 1 onion, quartered
– Optional: 1-2 tablespoons hot sauce
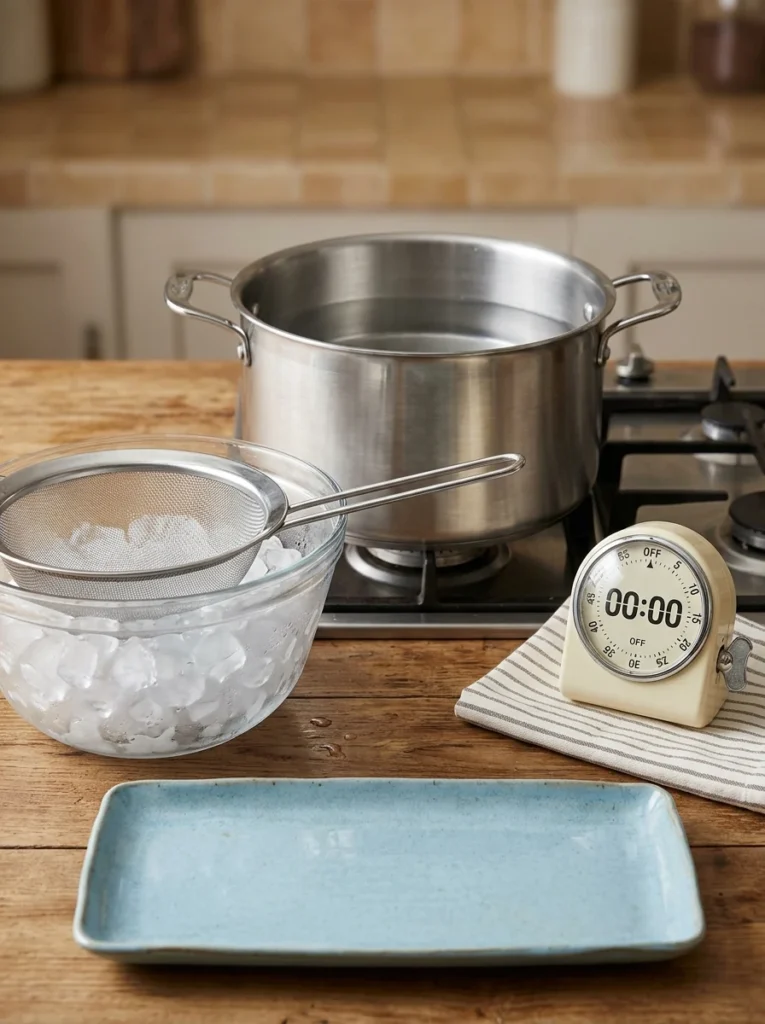
Equipment:
– Large stockpot (6-8 quart capacity)
– Colander or slotted spoon
– Large bowl for ice bath
– Ice (about 4 cups)
– Kitchen timer
– Serving platter
How Long Does Boiled Shrimp Take to Make?
Total preparation and cooking time is surprisingly quick, making this perfect for weeknight dinners:
– Prep time: 10 minutes (15 if peeling and deveining shrimp yourself)
– Water boiling time: 10 minutes
– Actual shrimp cooking time: 2-3 minutes
– Cooling/serving time: 5 minutes
The entire process takes about 30 minutes from start to finish—significantly faster than ordering takeout or dining out at a seafood restaurant.
How to Make Boiled Shrimp (Step-by-Step)
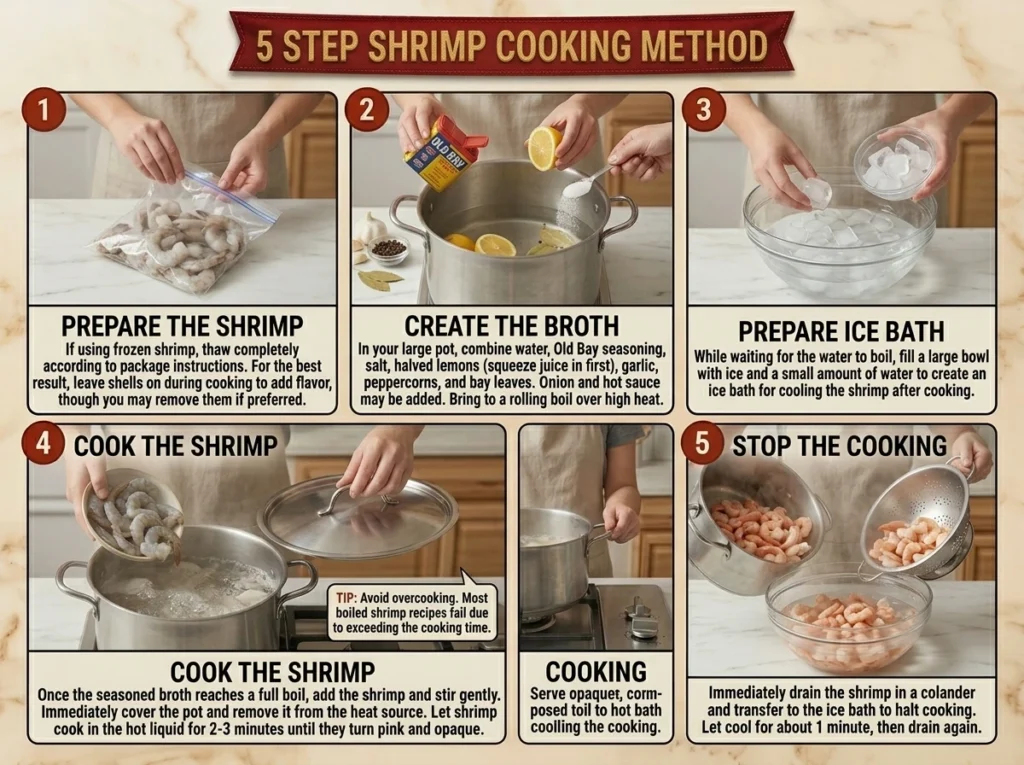
1. Prepare the shrimp: If using frozen shrimp, thaw completely according to package instructions. For the best boiled shrimp results, leave shells on during cooking (they add flavor), though you can remove them if preferred.
2. Create the seasoning broth: In your large pot, combine water, Old Bay seasoning, salt, halved lemons (squeeze juice in before adding), garlic, peppercorns, bay leaves, and optional onion and hot sauce. Bring to a rolling boil over high heat.
3. Prepare ice bath: While waiting for the water to boil, fill a large bowl with ice and a small amount of water to create an ice bath for cooling the shrimp after cooking.
4. Cook the shrimp: Once the seasoning broth reaches a full boil, add the shrimp and stir gently. Cover the pot and remove from heat. Let shrimp cook in the hot liquid for 2-3 minutes until they turn pink and opaque. Be careful not to overcook—most boiled shrimp recipes fail due to exceeding the cooking time.
5. Stop the cooking process: Immediately drain the shrimp in a colander and transfer to the ice bath to halt cooking. Let cool for about 1 minute, then drain again.
Nutritional Benefits of Boiled Shrimp
Boiled shrimp is exceptionally nutritious and diet-friendly:
– High protein content (about 24g per 4 oz serving)
– Low in calories (approximately 120 calories per 4 oz serving)
– Rich in omega-3 fatty acids that support heart and brain health
– Excellent source of selenium, vitamin B12, phosphorus, and iodine
– Contains astaxanthin, a powerful antioxidant that reduces inflammation
Expert Tips for the Best Boiled Shrimp
– For spicier shrimp, add cayenne pepper or additional hot sauce to the boiling liquid
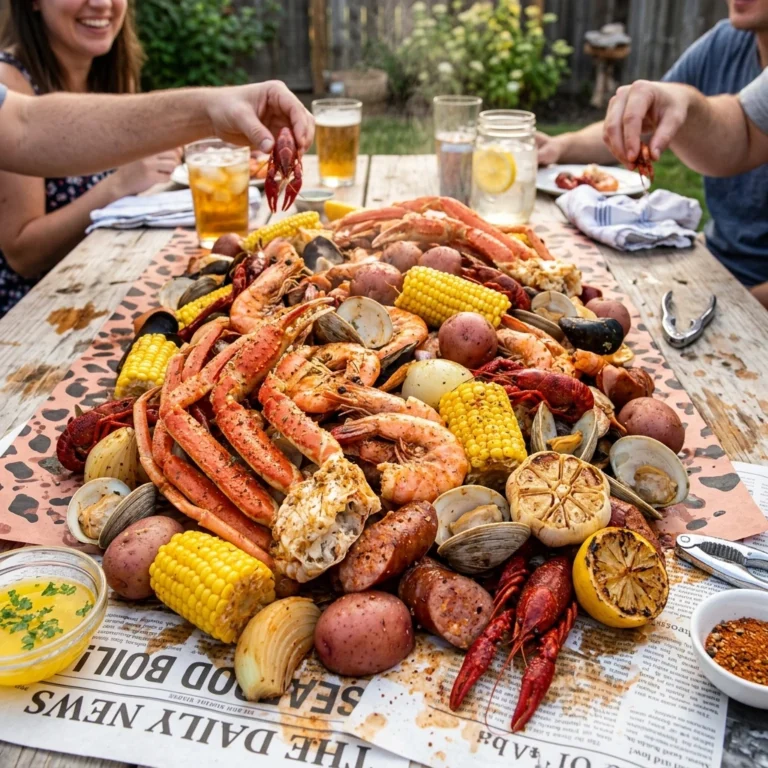
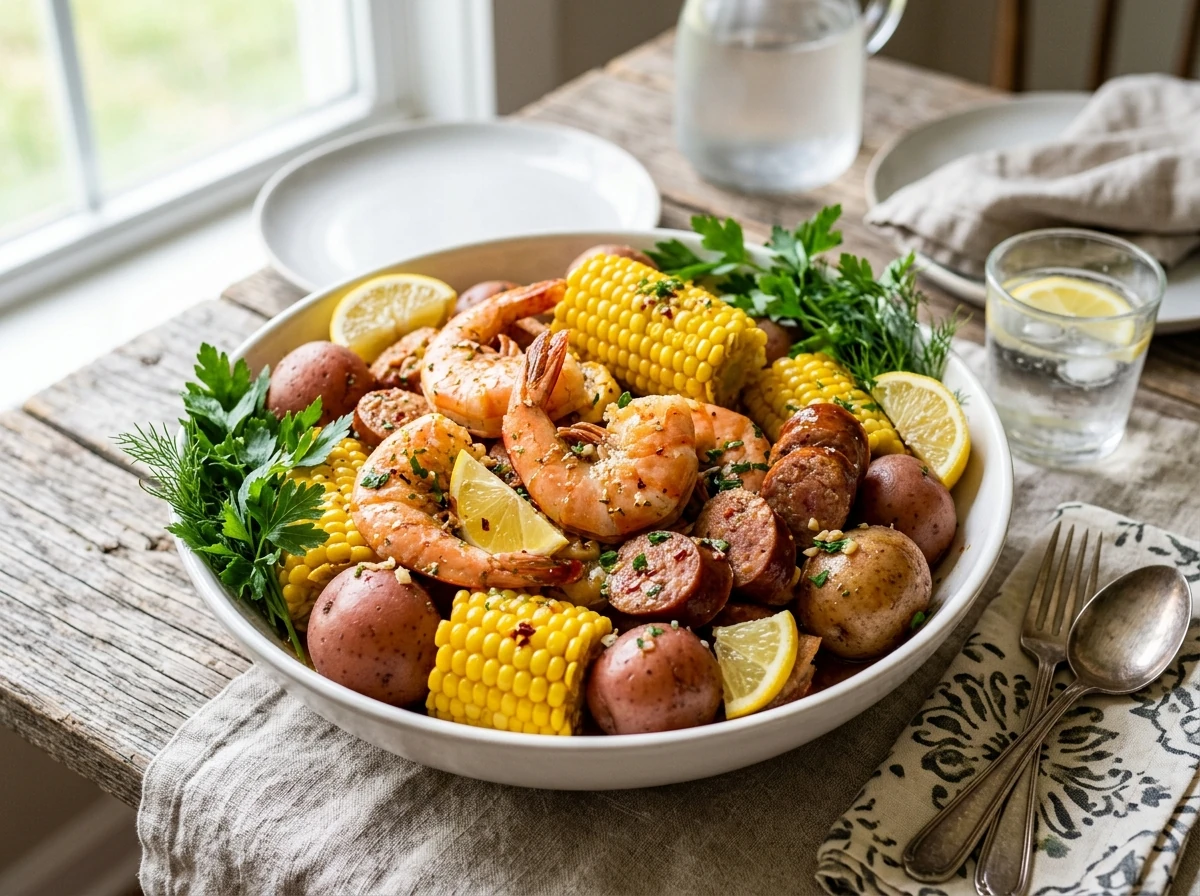
– Create a Louisiana-style boil by adding corn on the cob and small red potatoes (add these before the shrimp as they take longer to cook)
– For an Asian-inspired variation, add lemongrass, ginger, and star anise to the boiling liquid
– Cooking liquid can be strained and reused for seafood stock
– Serve with melted butter, cocktail sauce, or a simple lemon-garlic aioli
Common Mistakes When Making Boiled Shrimp
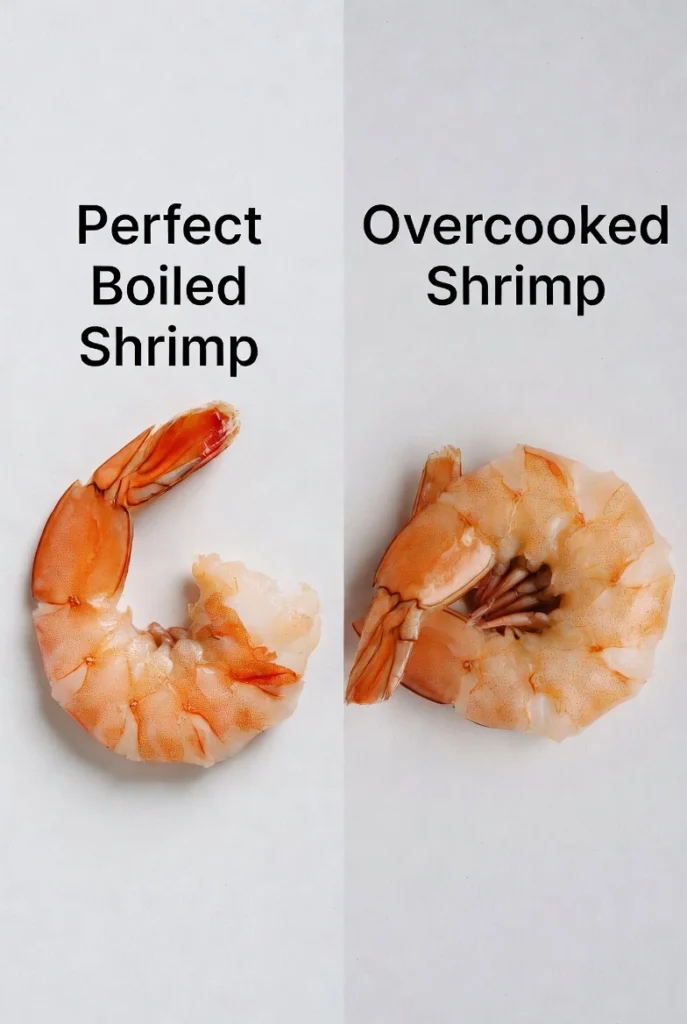
1. Overcooking the shrimp: This is the number one error and results in rubbery, tough shrimp. Remember that shrimp continue cooking even after removed from heat.
2. Underseasoning the water: Salt and seasonings need to be abundant to properly flavor the shrimp.
3. Skipping the ice bath: This crucial step prevents overcooking and preserves the perfect texture.
4. Using low-quality shrimp: Whenever possible, choose wild-caught or sustainably farmed shrimp for superior flavor.
How to Store Boiled Shrimp
Properly stored boiled shrimp will keep in the refrigerator for up to 3 days:
– Cool completely before refrigerating
– Store in airtight containers
– For best results, keep shells on until ready to eat
– Do not freeze cooked shrimp as texture will deteriorate
Conclusion
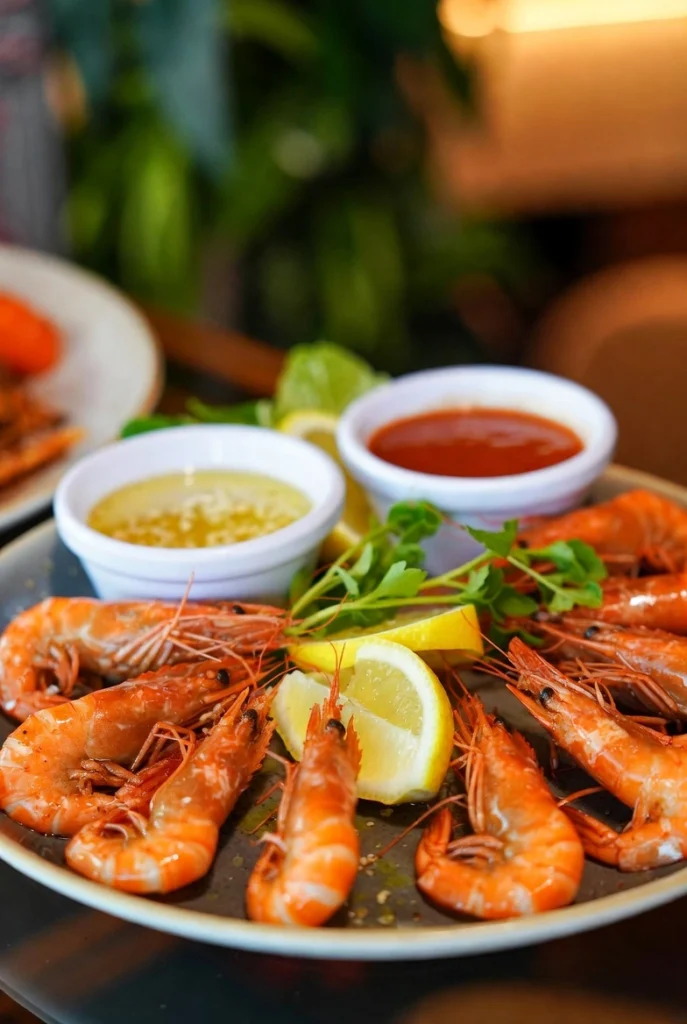
Mastering the art of boiled shrimp opens up endless possibilities for quick, healthy, and impressive meals. By following these simple steps, you’ll create perfectly cooked seafood that rivals any restaurant version. The key is to respect cooking times and use abundant seasoning. Now that you’ve learned the secrets to fantastic boiled shrimp recipes, it’s time to put your skills to the test. Try this method at your next dinner party or family meal, and watch as everyone reaches for seconds!
Frequently Asked Questions About Boiled Shrimp
Can I use pre-cooked shrimp for this recipe?
No, pre-cooked shrimp would become overcooked and rubbery. Always start with raw shrimp for the best results.
Is it necessary to devein shrimp before boiling?
While not strictly necessary from a safety perspective, deveining improves appearance and taste. Many markets sell shrimp that are already deveined but still in their shells.
How can I tell when the shrimp are perfectly cooked?
Perfectly cooked shrimp form a “C” shape and are pink with slight opacity. If they curl into a tight “O” shape, they’re overcooked.
Can I reuse the boiling liquid?
Yes! Strain and freeze the flavorful broth for future seafood soups or risottos.
What’s the best way to serve boiled shrimp?
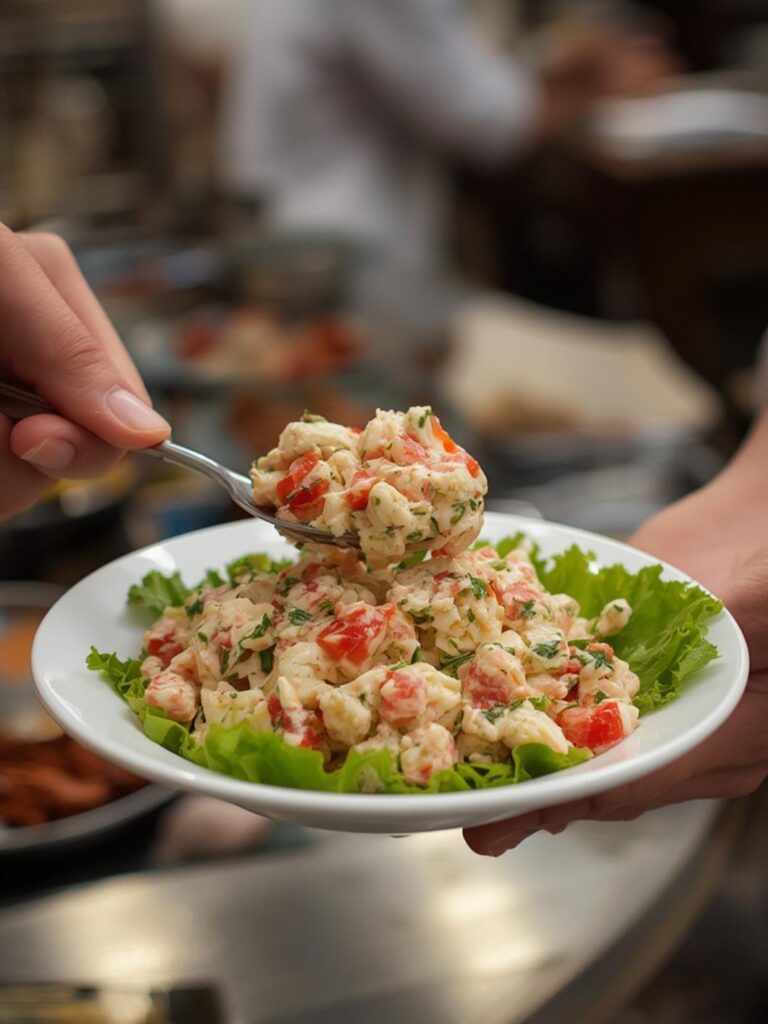
Classic presentations include a simple shrimp cocktail, cold shrimp salad, or a Louisiana-style spread with newspaper on the table and plenty of dipping sauces.
There are no reviews yet. Be the first one to write one.