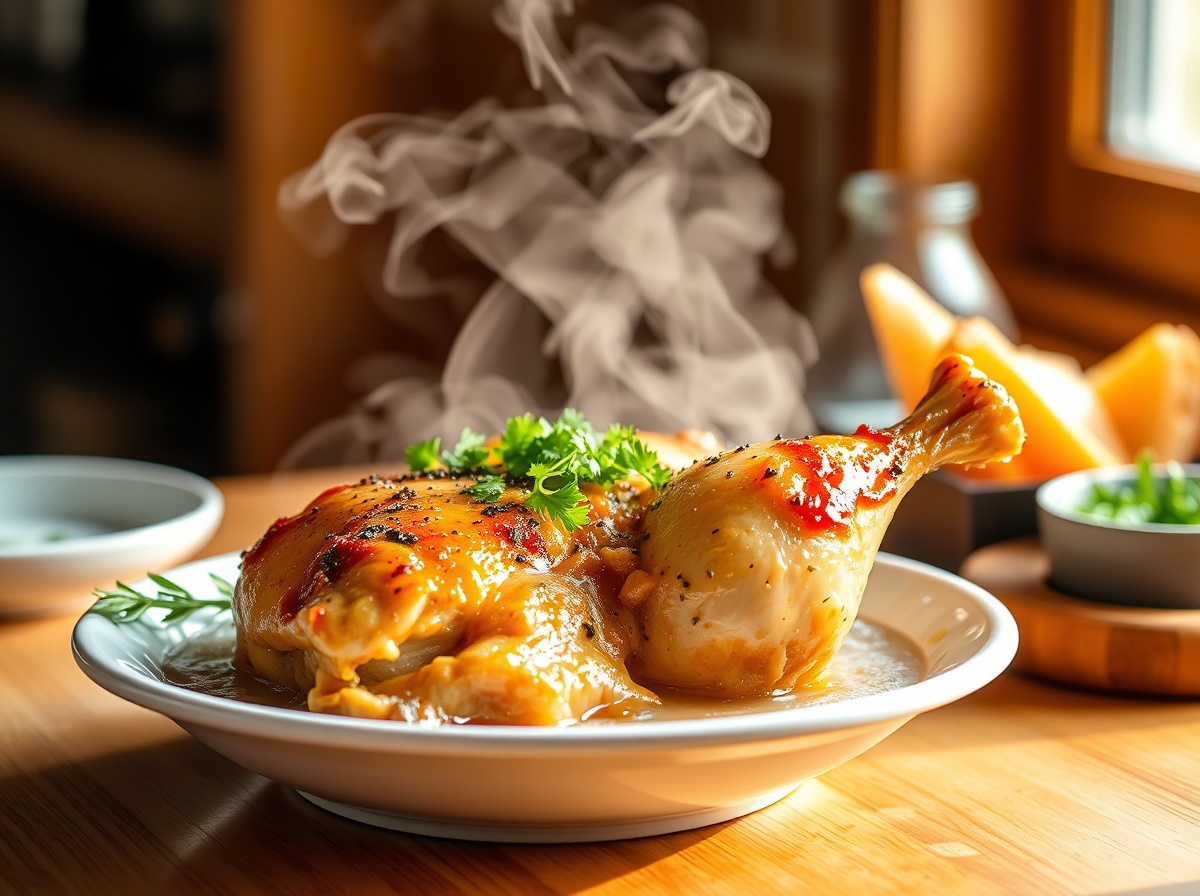
Easy Chicken Brine Recipe (Juicy Every Time)
I started making Chicken Brine Recipe after a weeknight dinner that went completely wrong. I had to improvise, and what came out of that experiment is now one of the most-requested meals in my house.
Table of Contents
Ingredients for Chicken Brine
Chef’s note: My trick here is to not rush the process. A little patience makes a huge difference in flavor.
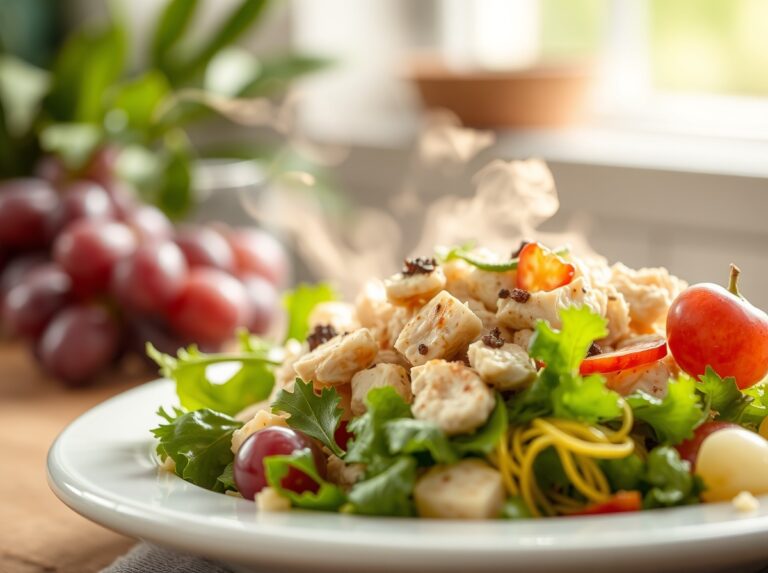
For a basic yet effective chicken brine, you’ll need:
Ingredients:
– 4 cups cold water
– ¼ cup kosher salt (not table salt)
– ¼ cup granulated sugar
– 3-4 garlic cloves, crushed
– 1 tablespoon whole black peppercorns
– 2 bay leaves
– 1 tablespoon dried herbs (thyme, rosemary, or sage)
– 2-4 chicken breasts or 1 whole chicken (3-4 pounds)
Equipment:
– Large non-reactive container (glass or food-grade plastic)
– Measuring cups and spoons
– Whisk
– Refrigerator space
– Paper towels
– Optional: Ziplock bags for smaller cuts
How Long Does Chicken Brine Take to Make?
Understanding timing is crucial for successful brining:
– Preparation time: 10 minutes
– Brining time:
– Chicken breasts: 1-2 hours
– Whole chicken: 8-12 hours (overnight)
– Rest time after brining: 30 minutes
– Cooking time: Varies based on cooking method and cut
Unlike marinating, which can be done indefinitely, brining has an optimal window—too short and you won’t get the benefits, too long and your chicken can become too salty and mushy.
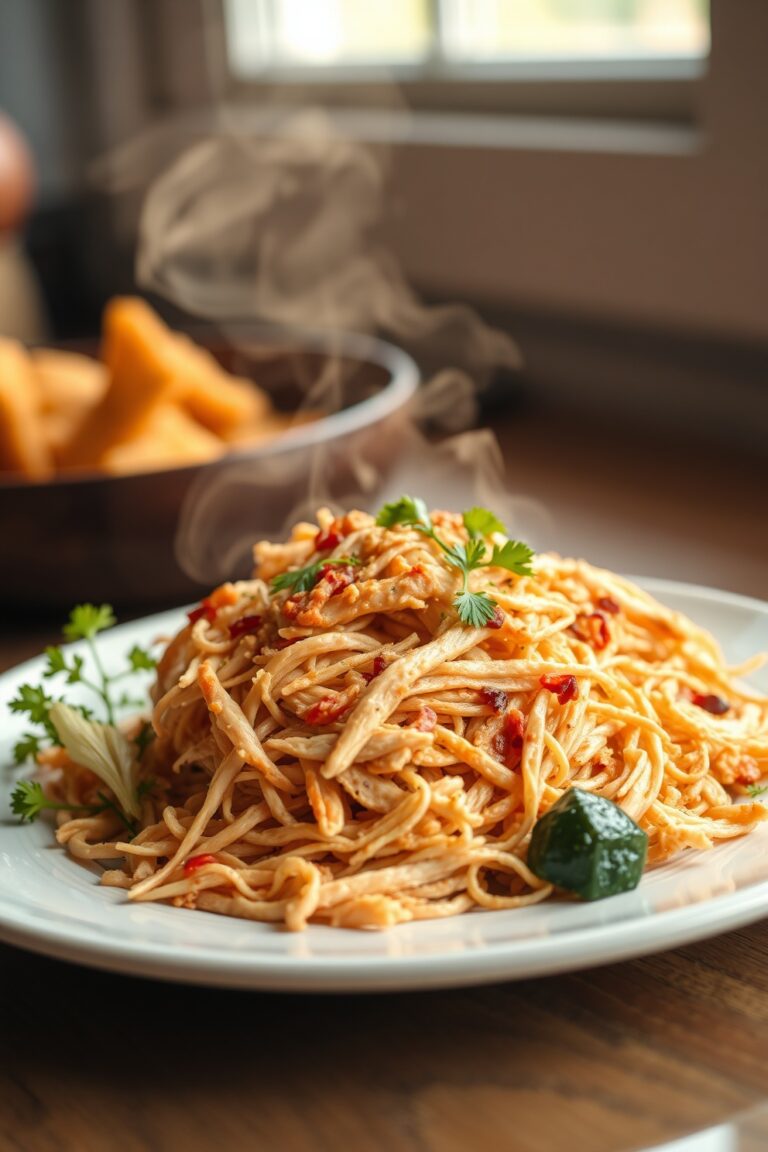
How to Make Chicken Brine (Step-by-Step)
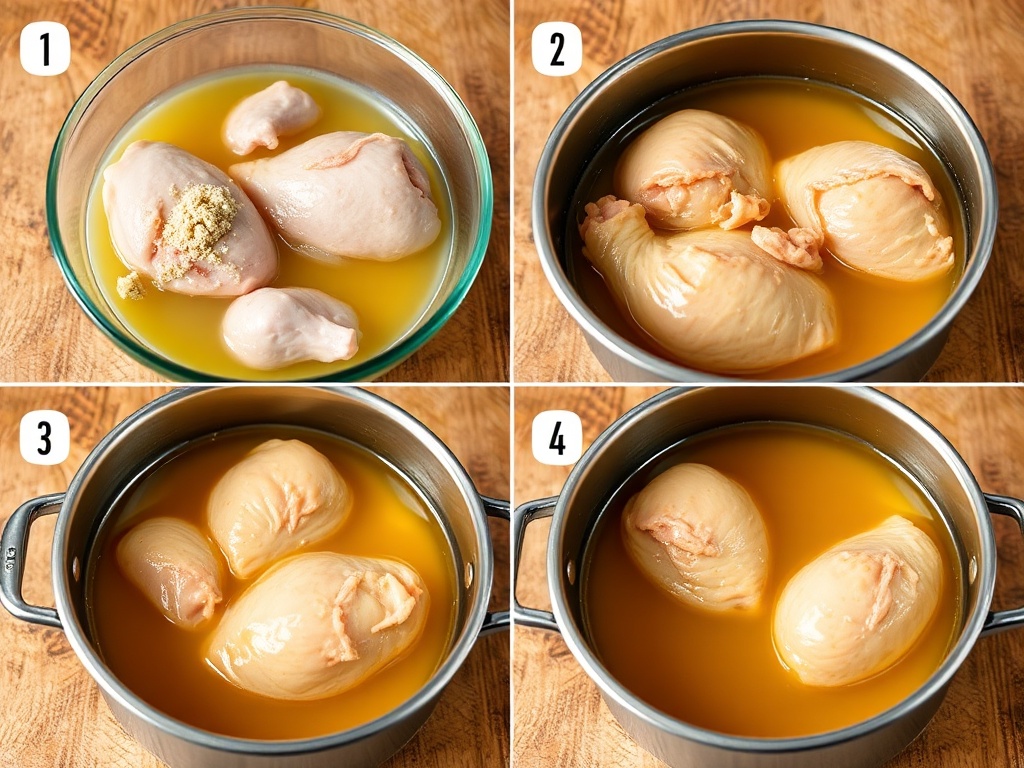
1. Create the brine solution:
Combine water, salt, and sugar in a pot and heat just enough to dissolve the solids. Add aromatic ingredients like garlic, peppercorns, and herbs. Cool completely before use.
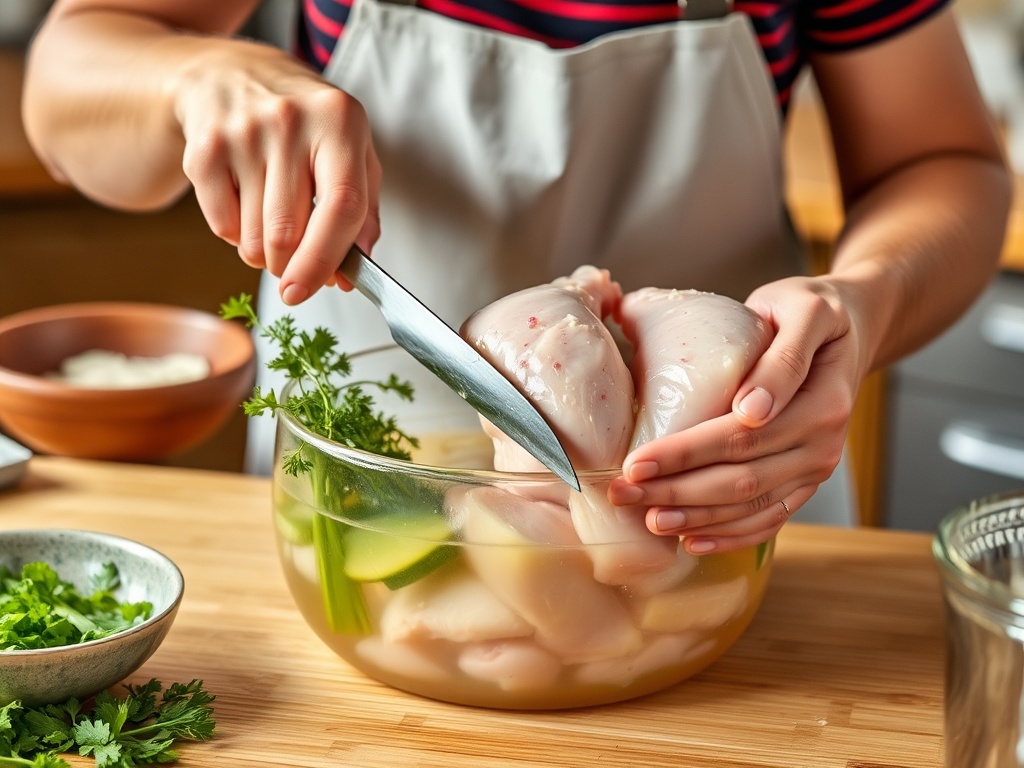
2. Prepare your chicken:
Rinse chicken pieces or whole chicken under cold water. Pat dry with paper towels. Using a quality chicken brine recipe starts with properly prepared poultry.
3. Submerge in brine:
Place chicken in your container and pour the cooled brine over it, ensuring it’s completely covered. For smaller cuts, ziplock bags work well and require less brine.
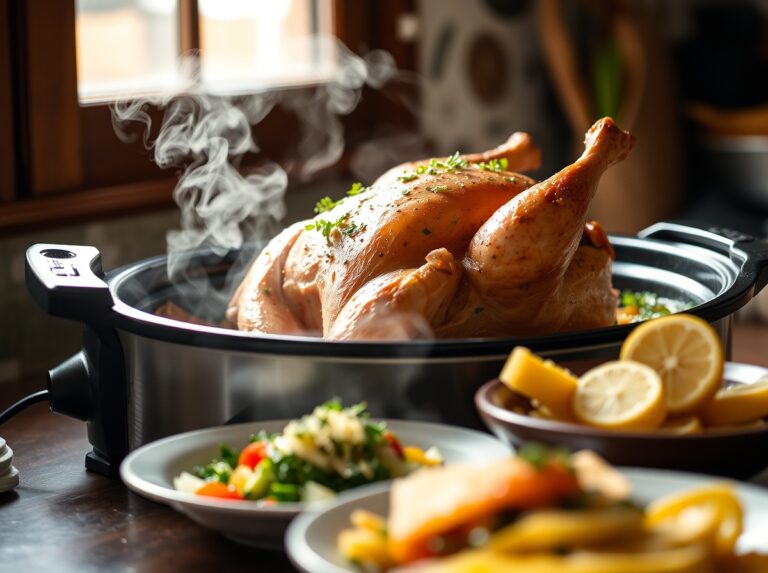
4. Refrigerate:
Never brine at room temperature! Understanding how to brine chicken breast safely means always keeping it refrigerated throughout the process.
5. Rinse and dry:
After brining, remove chicken from solution, rinse thoroughly under cold water to remove excess salt, and pat completely dry with paper towels.
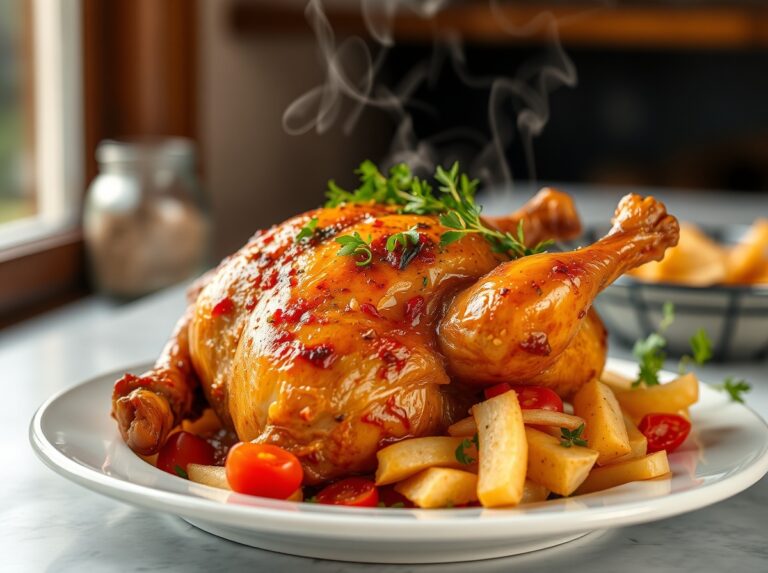
6. Rest before cooking:
Allow chicken to rest uncovered in the refrigerator for 30 minutes. This helps the surface dry, which leads to better browning during cooking.
Nutritional Benefits of Chicken Brine
Brining offers several advantages beyond flavor:
– Enhanced moisture retention (up to 15% more)
– More even cooking throughout the meat
– Improved texture and tenderness
– Better flavor penetration compared to marinades
– Reduced cooking time due to increased moisture content
While brining does add sodium, the amount actually absorbed is minimal compared to simply salting the surface before cooking.
Expert Tips for the Best Chicken Brine
– Flavored brines: Add apple juice, citrus zest, honey, or maple syrup for sweet notes
– Buttermilk brine: Substitute half the water with buttermilk for Southern-style chicken
– Quick brine method: For last-minute meals, use warm (not hot) water with double the salt for 30 minutes
– Dry brining: Rub salt and spices directly on the chicken and refrigerate for 4-24 hours
– Low-sodium option: Reduce salt by 25% and increase brining time slightly
Common Mistakes When Making Chicken Brine
1. Using table salt instead of kosher salt: The different crystal sizes affect salinity—always use kosher salt unless the recipe specifies otherwise.
2. Brining for too long: Over-brining makes meat mushy and too salty.
3. Skipping the rinse step: Not rinsing after brining can lead to overly salty chicken.
4. Using reactive containers: Metal containers can interact with the salt and affect flavor.
5. Not cooling the brine completely: Adding chicken to warm brine creates food safety issues.
How to Store Chicken Brine
– Never reuse brine solution
– Brined chicken should be cooked within 24 hours
– If you need to delay cooking, remove chicken from brine, rinse, and store separately
– Cooked brined chicken keeps for 3-4 days in the refrigerator
– Freeze cooked brined chicken for up to 3 months in airtight containers
Conclusion
Mastering a good chicken brine recipe is one of the simplest ways to elevate your home cooking to restaurant quality. The science behind brining ensures juicier, more flavorful results every time. Now that you understand how to brine chicken breast and other cuts properly, you can confidently experiment with different flavors and techniques. Try this method with your next chicken dinner and taste the remarkable difference that this simple extra step provides.
Frequently Asked Questions About Chicken Brine
Can I brine frozen chicken?
No, always thaw chicken completely before brining for food safety and proper salt absorption.
Is brining necessary for all cooking methods?
Brining is most beneficial for cooking methods that tend to dry out chicken, like roasting, grilling, and smoking. It’s less necessary for braising or slow cooking.
Can I use this same brine for turkey or pork?
Yes! This basic brine works well for turkey and pork cuts, though you may need to adjust brining times based on size.
Will brining make my chicken too salty?
Not if you follow the recommended times. Remember to always rinse the chicken after brining and before cooking.
Can I add wine or beer to my brine?
Absolutely! Replace up to half the water with beer, wine, or apple cider for additional flavor complexity.